ADVERTISEMENT
Steps:
- Mix Initial Ingredients: Combine 45 grams of the flour mixture (about 1/4 cup) and a scant 1/4 cup of lukewarm water (45 grams) in a clear container. Mix until it forms a thick paste.
- Cover and Store: Cover the container loosely with a kitchen towel and keep it at room temperature. The warmth will encourage the wild yeast and bacteria to grow.
- Feed Once Daily for 4 Days: Each day, discard half of the mixture and add 45 grams each of the reserved flour mixture and water. Mix well.
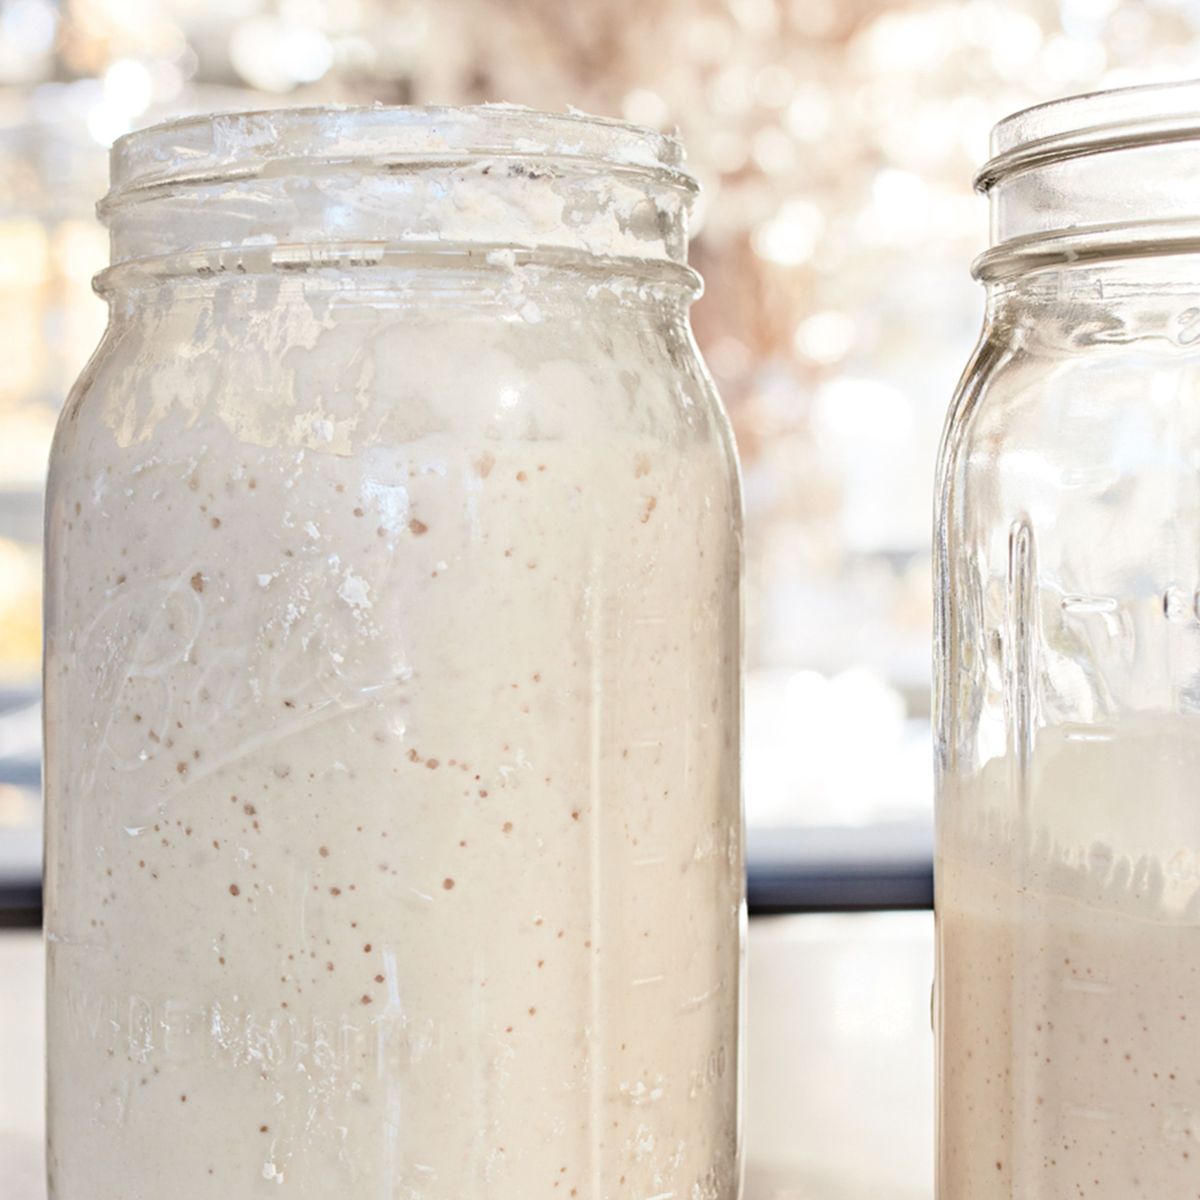
- Note: By the end of the fourth day, you should start to see small bubbles, indicating growth.
- Switch to Twice Daily Feedings: Starting on day 5, switch to all-purpose flour for feeding and feed twice daily (morning and night) with equal parts flour and water.
- Smell Test: At this stage, the starter may emit sour or nutty smells, which is a sign of active fermentation.
- Continue Feeding Until Bubbly: After about 7 days, your starter should be doubling in volume and have a bubbly, web-like structure. This indicates it’s ready to use. From here, you can store it in the fridge and feed weekly.
- Regular Maintenance: Discard all but 100 grams of starter and feed with 100 grams each of water and flour once or twice weekly. For a smaller starter, use 40 grams each.
Tips:
- Aerate: Stir your starter twice a day for the first week to increase oxygen.
- Temperature Control: Keep your starter warm, ideally around 70-75°F, for active growth.
- Ready to Bake?: Feed the starter a day before baking. It should double in size, with a stretchy, bubbly texture.
Common Questions
How long does a starter last?
With regular feeding, it can last indefinitely!
What if my starter has mold?
If you notice mold or any fuzzy growth, discard and start fresh.
Now you’re ready to bake classic sourdough boules, cookies, or even croissants!
ADVERTISEMENT
