ADVERTISEMENT
Preparing the Bottle Cap
Modify the Q-tip: Start by taking the plastic Q-tip and cutting one end off to open it up. This will be crucial for regulating the air flow into the bottle.
Drill a Hole in the Cap: Create a small hole in the cap of your plastic bottle. This hole should be just big enough to insert the cut end of the Q-tip snugly.
Insert and Seal the Q-tip: Insert the cut end of the Q-tip into the hole you’ve made in the bottle cap. Push it in about half an inch. Apply glue around the outside of the Q-tip where it meets the cap to make it airtight. The Q-tip will act as a tiny air conduit while its remaining cotton end controls the flow of air, allowing only a small amount in to regulate water flow.
Setting Up the Water Flow
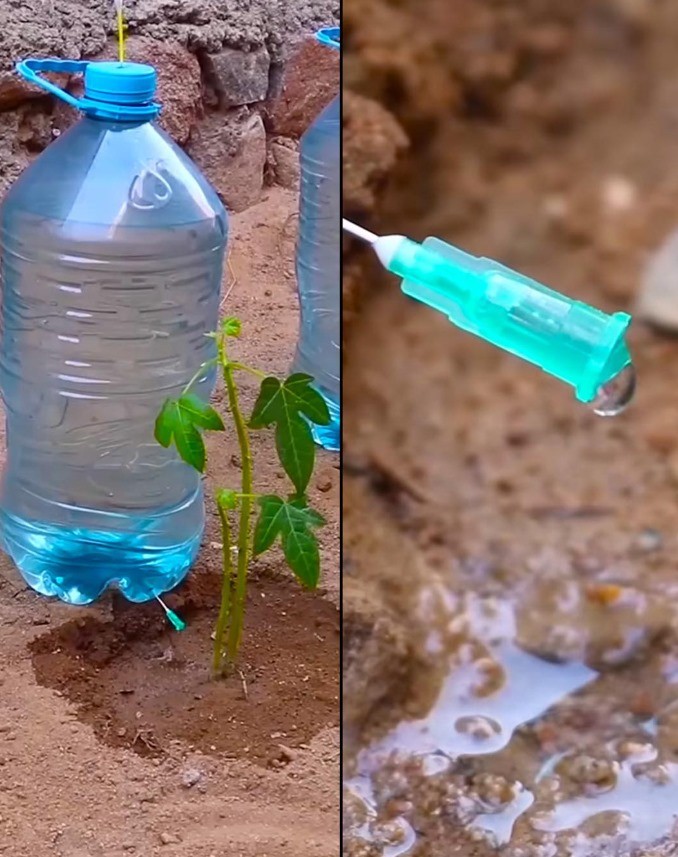
Insert the Syringe Needle: Choose a spot near the bottom of the bottle to insert the syringe needle. Ensure the sharp end is inside the bottle. This will serve as the water outlet, allowing water to drip out at a controlled rate.
Fill the Bottle with Water: Once everything is in place, fill your bottle with water. The size of the bottle you choose will determine how long the system can water your plants.
Activation and Maintenance
Place the Bottle: Position the bottle near your plant, ideally with the needle aimed to drip directly into the soil. The gravity-fed system will slowly release water as air enters through the Q-tip, creating a vacuum that controls the drip.
Test the System: Before you leave, test the system for a day to ensure it works as expected. Adjust the needle’s position if the water flows too fast or too slow.
Conclusion
This DIY automatic plant watering system is a game-changer for plant lovers who travel. It’s not just easy to make but also efficient and cost-effective. With this system, you can enjoy your time away, knowing your plants are receiving the care they need. Happy travels, and may you return to healthy, hydrated plants!
If you found this helpful, share the article with your friends!
ADVERTISEMENT
