
ADVERTISEMENT
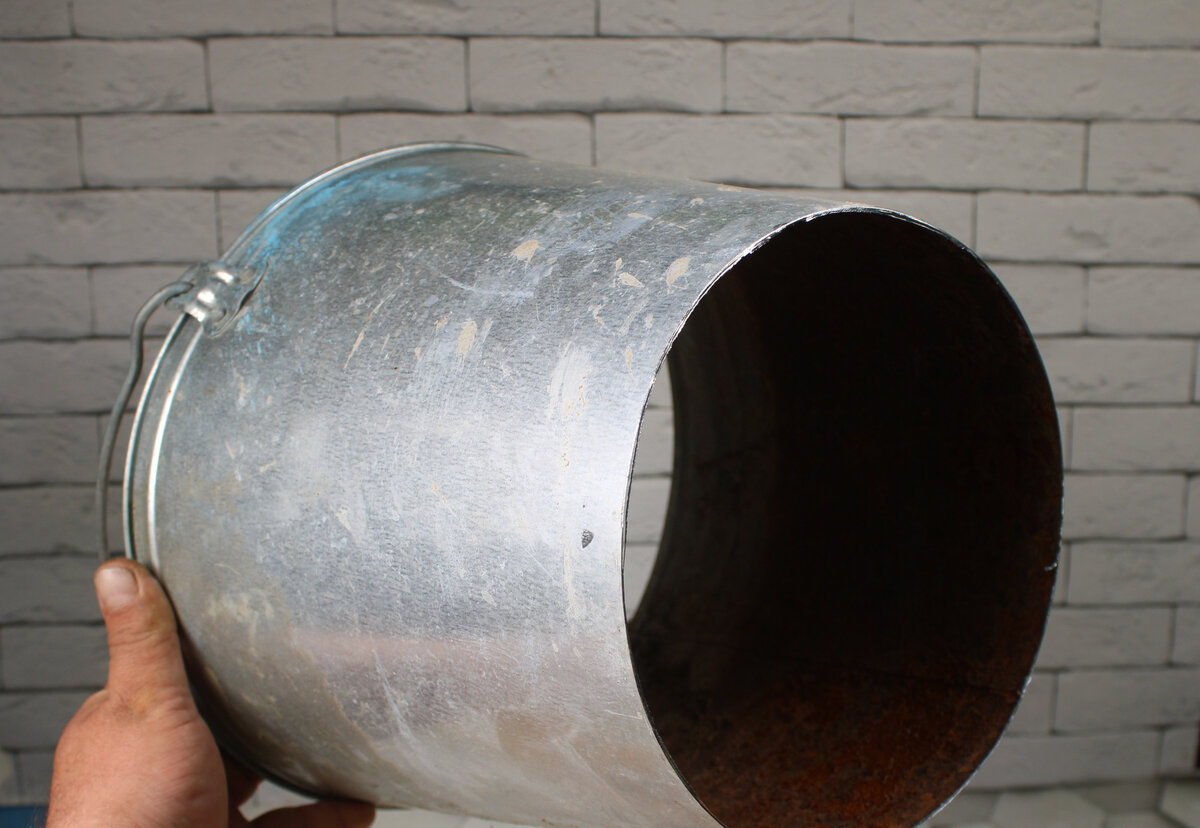
Start by cutting out the bottom of the bucket. Use a hacksaw or an angle grinder to do this. This step is essential to ensure proper soil aeration and optimal water drainage. Work on a stable and secure surface to avoid any accidents.
Step 2: Add a fence
The secret to a practical and durable structure
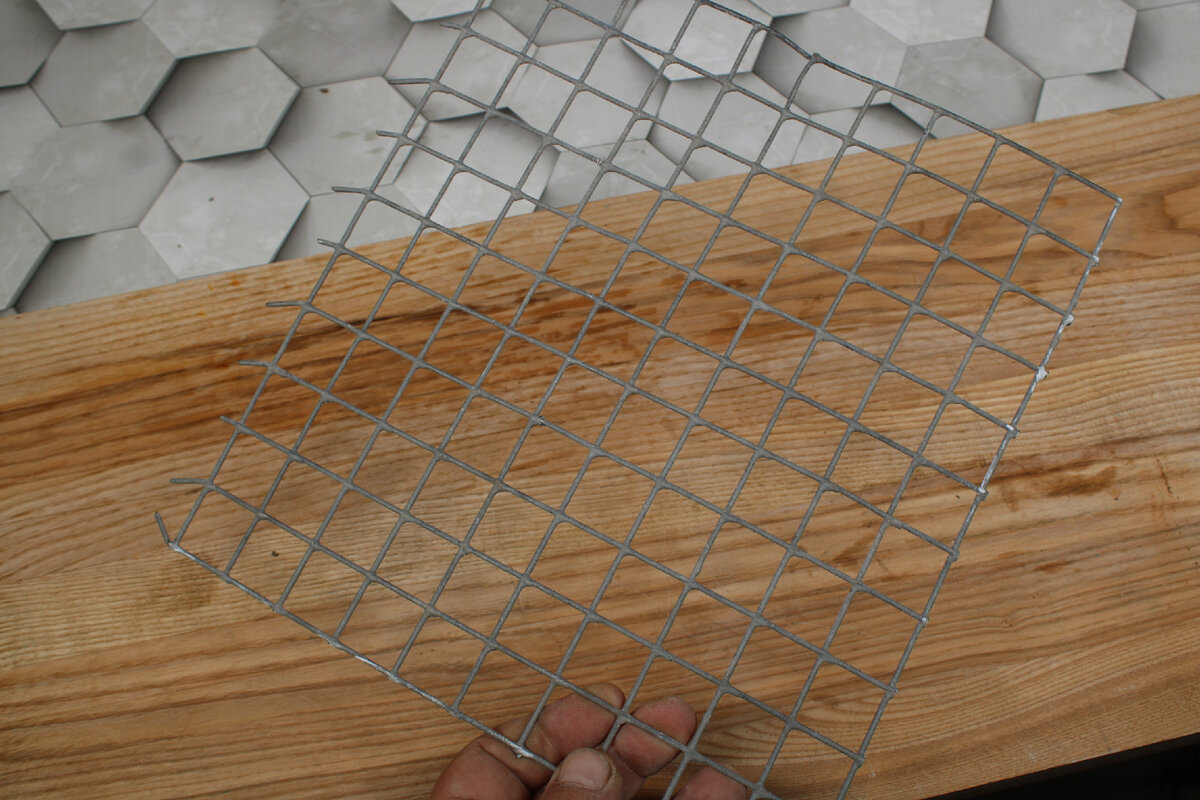
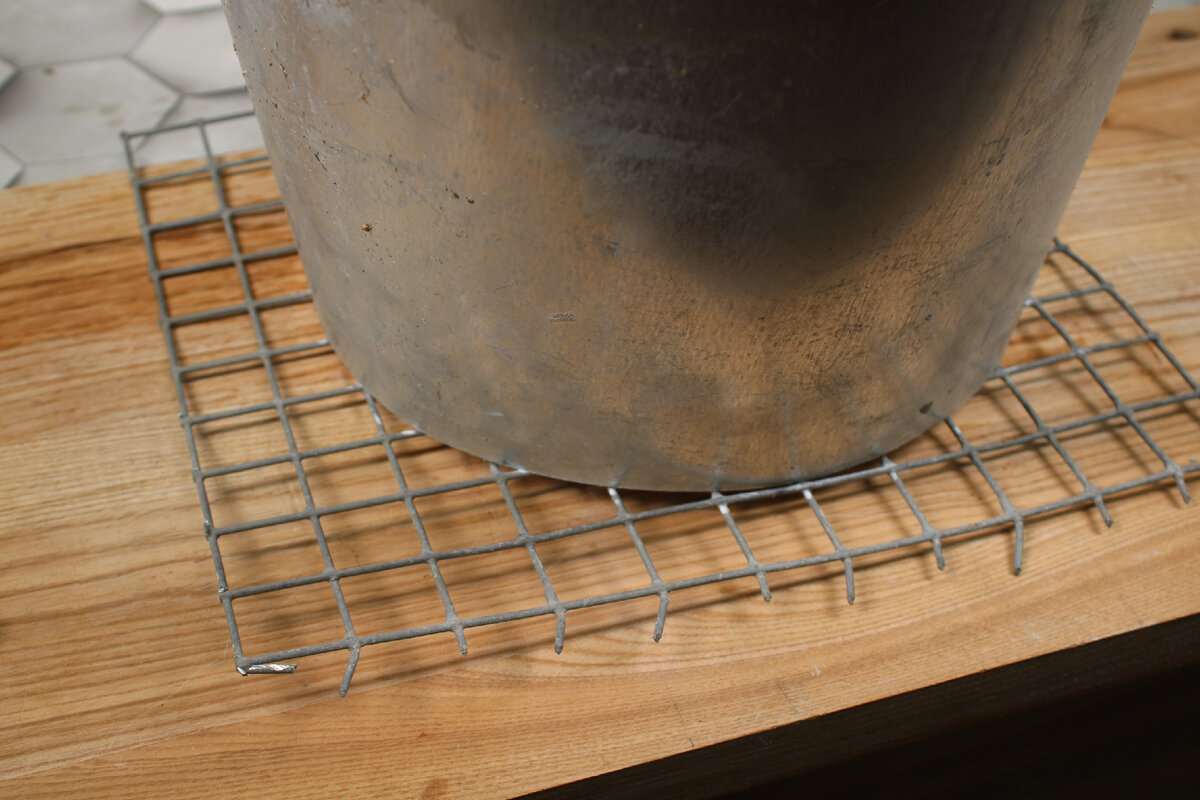
Once the bottom of the bucket is removed, attach a wire mesh in its place. This mesh will act as a sieve, allowing excess soil and debris to drain away while keeping your plants in place.
If you don’t have mesh, a piece of steel wire or an old sieve can work perfectly. Cut the mesh to fit the bottom of the bucket and secure it securely with wire or rivets.
Step 3: Optimize usage
An ideal tool to simplify your harvests
After this transformation, your bucket becomes an indispensable ally for sorting your harvests or transporting plants. Thanks to the opening at the bottom, you can sift the soil directly on site, thus avoiding unnecessary waste and increasing efficiency.
This tool is particularly suitable for growing root vegetables such as potatoes, carrots, or turnips. You can easily extract the roots while letting the soil fall back onto the ground.
see more on the next page
ADVERTISEMENT
